Note
Annotating with dimensions can adjust and control the sizes and positions of modelled objects.
Annotated dimensions will be displayed and printed. If desired, annotated dimensions can be removed after being used to adjust sizes and positions without affecting the sizes and positions already set.
The following shows an example of annotating horizontal grid lines. The techniques can be followed for annotating other modelled objects.
-> TopAnnotate parallel grid lines with running dimensions
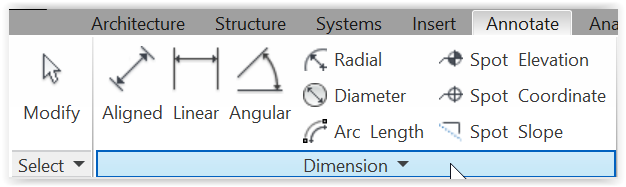
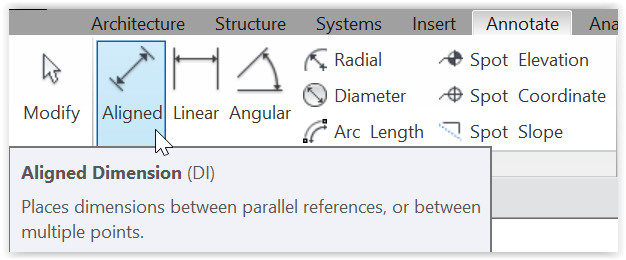
Left-click: Annotate > Dimension - Aligned:
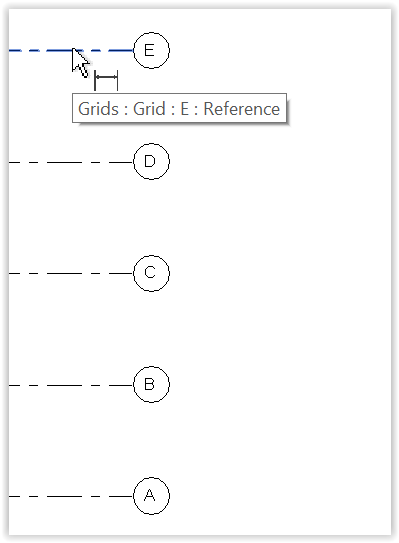
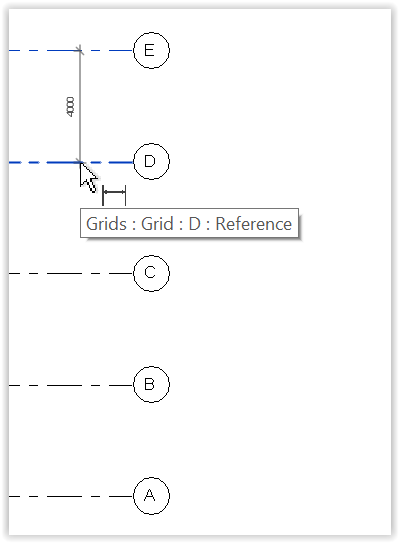
Left-click the first line:
Drag down > Left-click the second line:
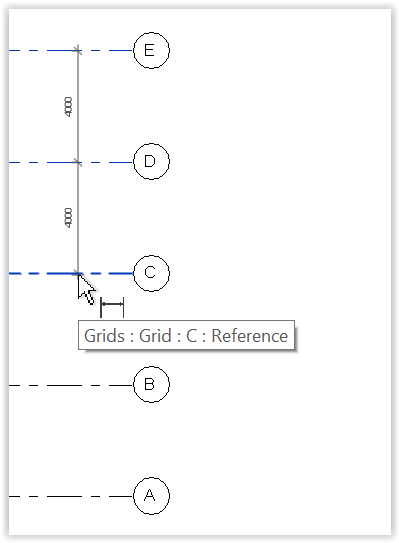
Drag down > Left-click the third line:
Drag down > Left-click the fourth line:
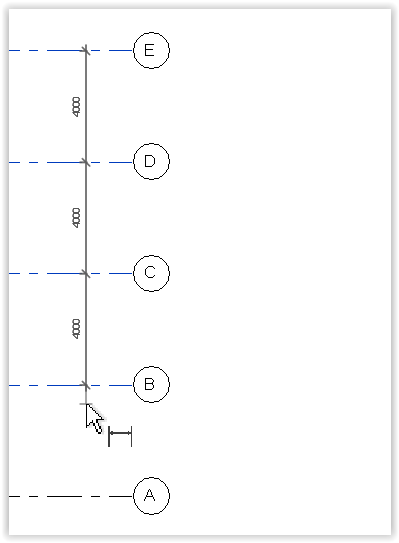
Drag down > Left-click the fifth line:
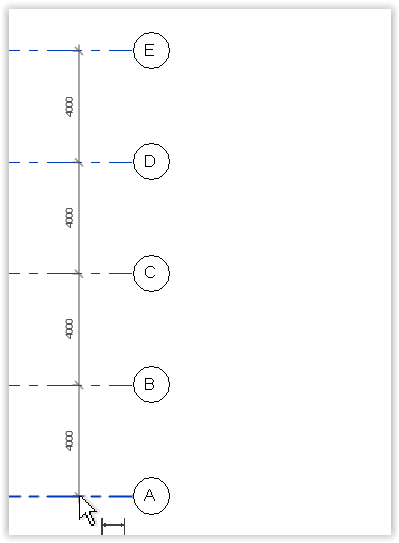
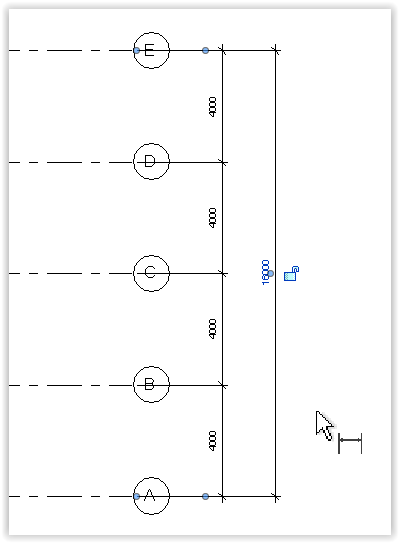
Drag left or right to move the set of running dimensions to the the left or the right (not a must) > Drag up or down the end of dimension line > Left-click any point away from the lines to be dimensioned to end the dimension line:
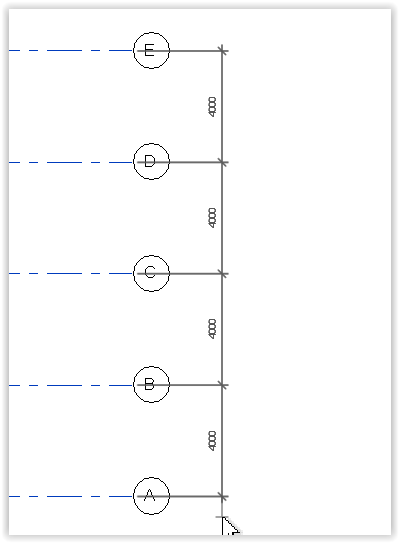
Left-click any point again to finish:
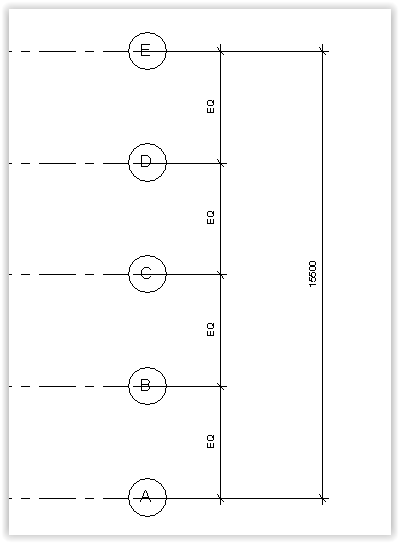
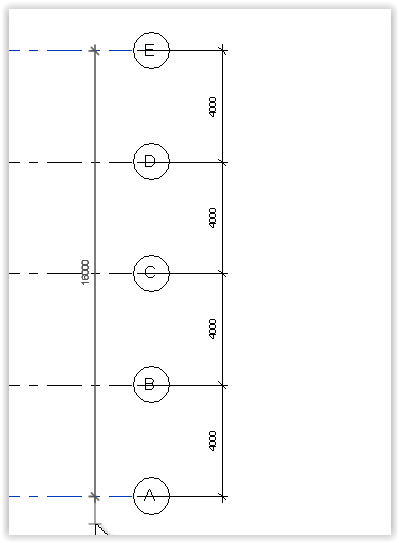
Draw overall dimension
Follow the technique above to draw the overall dimension:
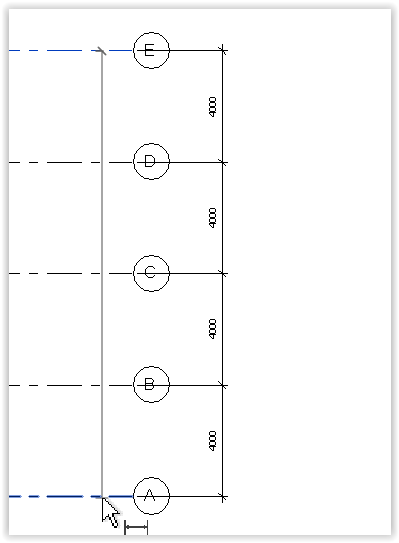
Change position of dimensions
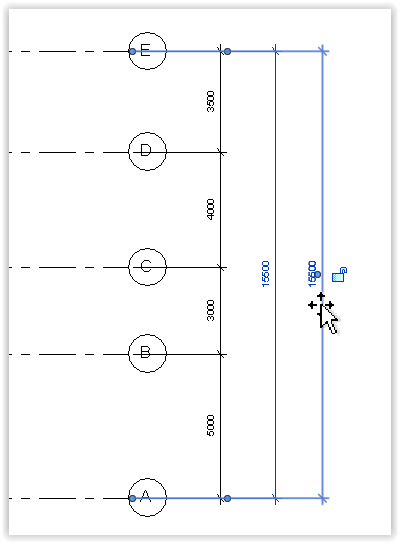
Left-click dimenson line:
Drag left or right to move its position:
Left-click to finish:
Change dimensions to move line position
Left-click the line to be moved (e.g. grid B as below, not the dimension line):

Left-click the dimension relative to grid A:
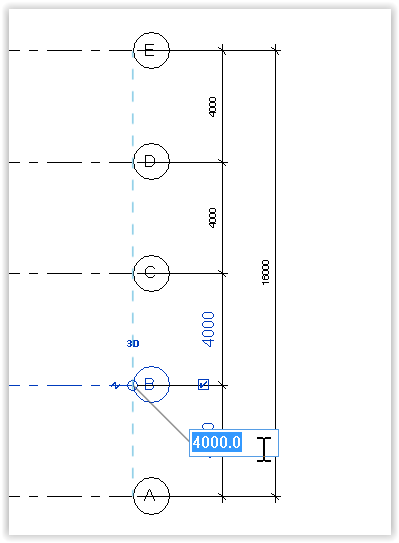
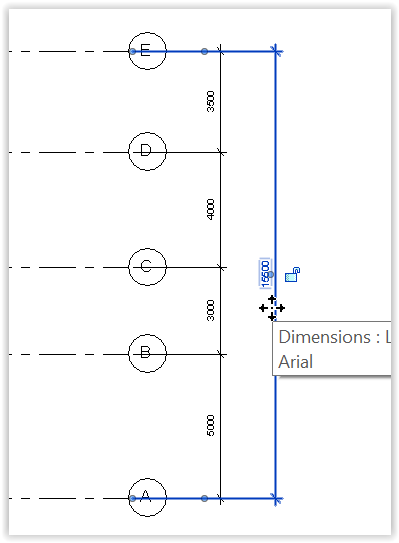
Change the dimension > Enter:
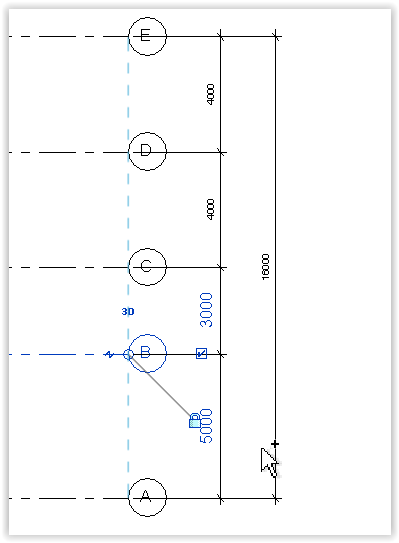
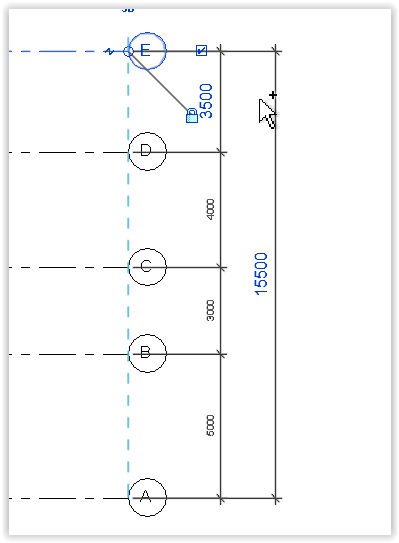
Left-click another line to be moved (e.g. grid E as below):
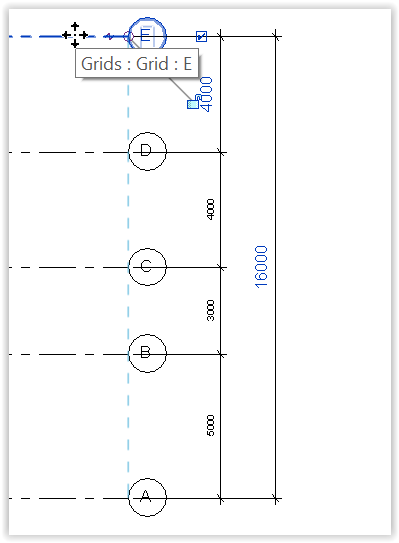
Left-click dimension:
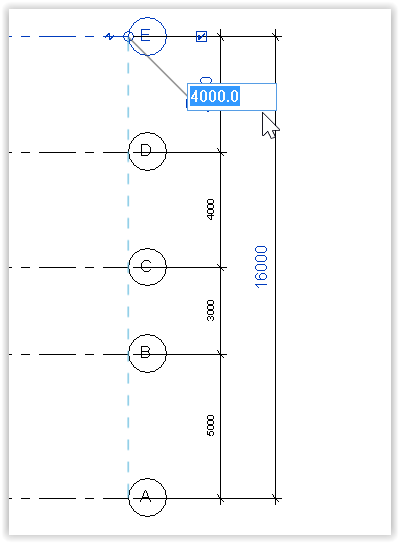
Change dimension:
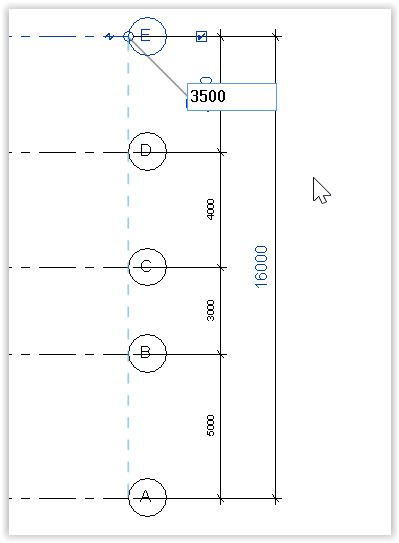
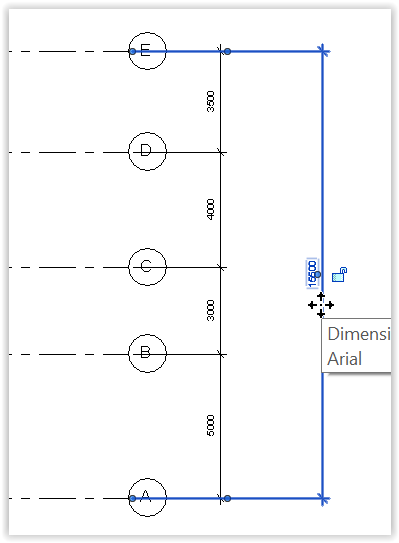
Enter > Esc to finish this series of commands:
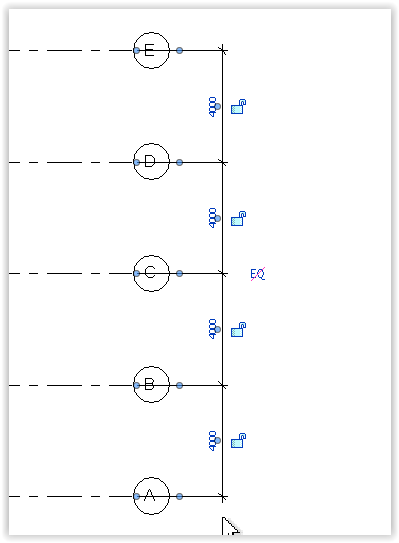
Change all lines to equal spacings
Left-click the dimension line > Look for the "EQ" sign crossed in red:
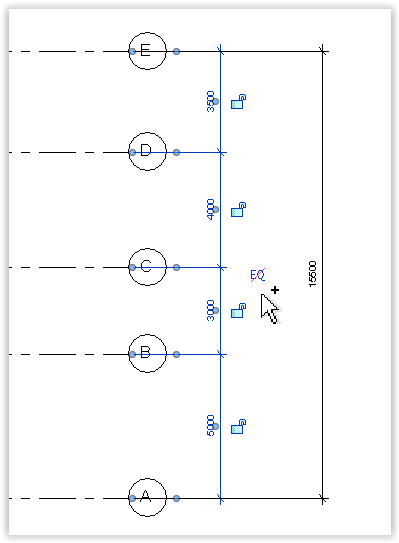
Left-click the EQ sign:
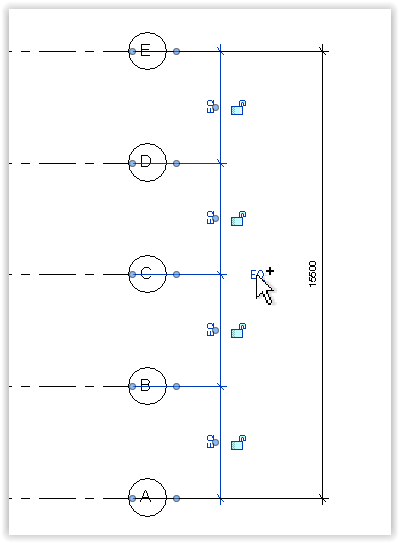
Esc to finish this series of commands: