Use Excel
Use Excel KCTangNote
11 Mar 2020: Rounding up to 2 significant digits added
17 Jan 2020: Using macros and Add-ins added.
01 Feb 2019: Bracketing negative numbers and hiding zeros added.
26 Sep 2018: Showing one-digit as two-digits added.
19 Sep 2018: First created.
Insert page number and total number of pages
Select Page Layout > Print Titles > Header/Footer > Custom Footer:
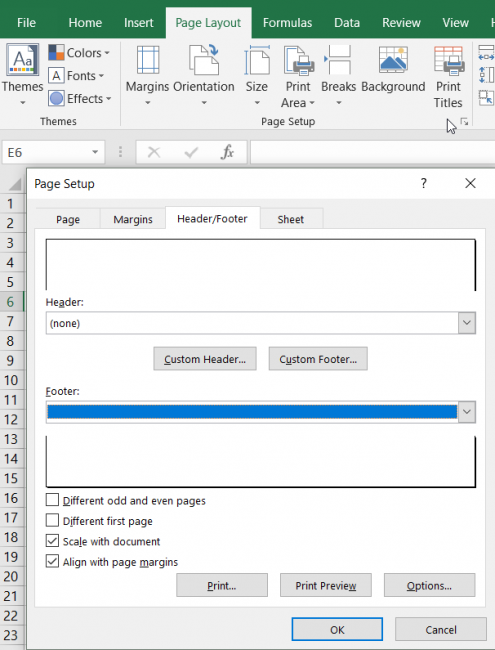
(By the way, click Scale with document and Align with page margins to enable the Header and Footer not to encroach into the margins.)
Select icon to insert Page number:

Enter " / ".
Select icon to insert Number of Pages:

Select OK.
Select Page:
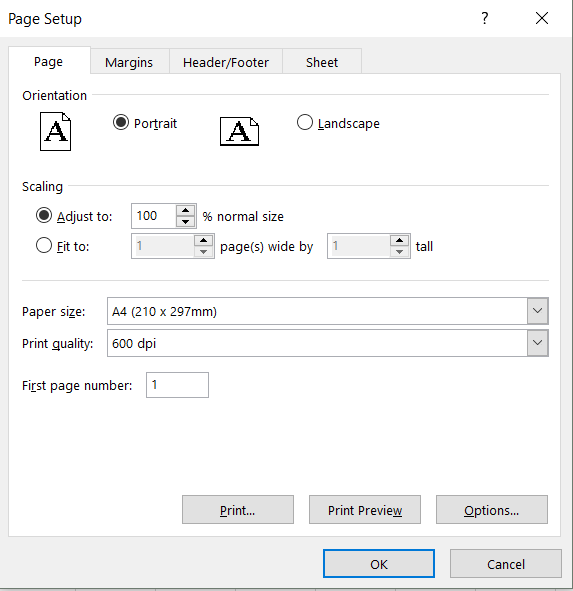
Change First page number from "Auto" to "1".
If it is "Auto", the page number of all Worksheets selected to print will run consecutively.
If it is "1", each Worksheet will start at page 1.
However, the total number of pages will be the total of all Worksheets selected printed, not the total number of the respective Worksheet. This may not be desirable.
The next is a solution.
Show total number of pages of a Worksheet
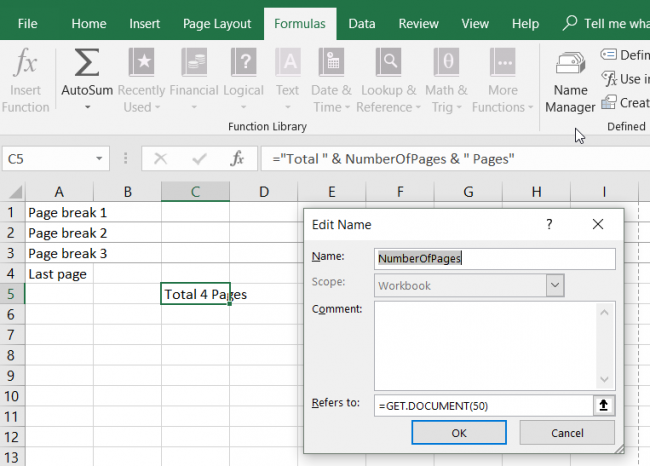
Select Formulas > Name Manager > New.
Define:
- Name: NumberOfPages
- Refers to: GETDOCUMENT(50)
Enter in a cell a formula =NumberOfPages
The displayed value will be the total number of pages of the worksheet.
Enter in a cell a formula ="Total " & NumberOfPages & " Pages" (note spaces) will display a meaningful text.
This cannot be used in the Header or Footer.
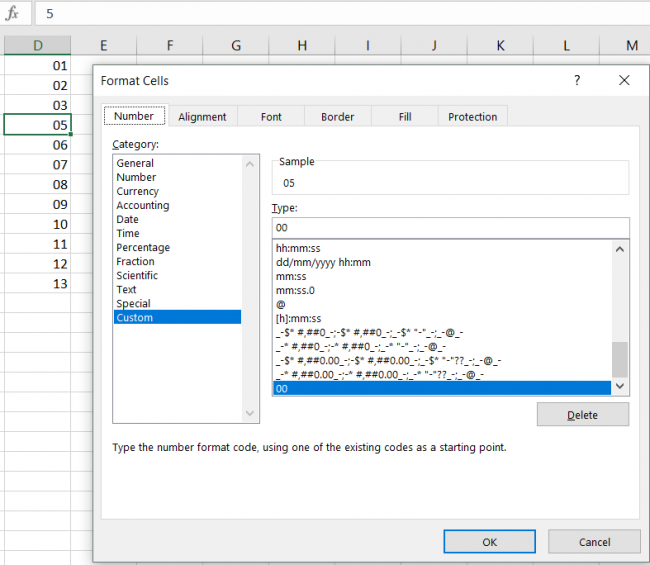
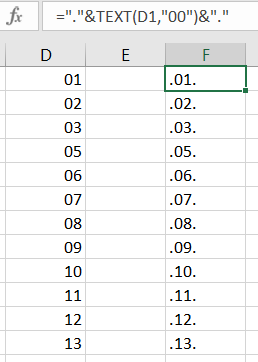
Show single-digit whole number as two-digit whole number
Press Ctrl-1 > Number > Custom,
Enter "00" against Type. Select OK.
To make the double-digit number actually become a text for other uses, use the TEXT() formula, where "00" represents the Format Type used above, as follows:
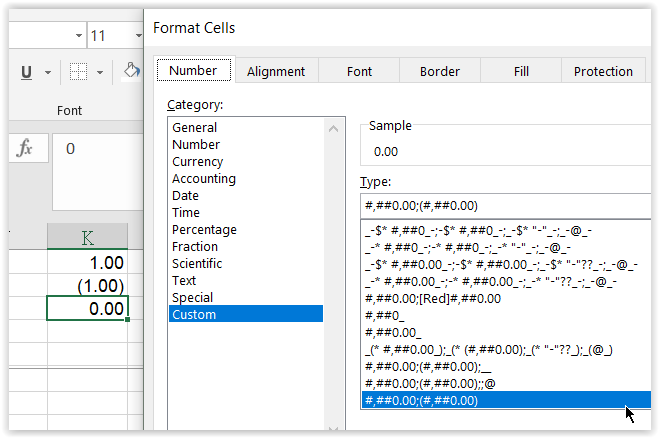
Show negative numbers in brackets
(added 01 Feb 2019)
Use:
#,##0.00;(#,##0.00)
The part before ";" defines the format of positive numbers.
The part after ";" defines the format of positive numbers.
Right-align positive numbers with negative numbers before the ")"
(added 01 Feb 2019)
Append "_-" to the first part:
#,##0.00_-;(#,##0.00)

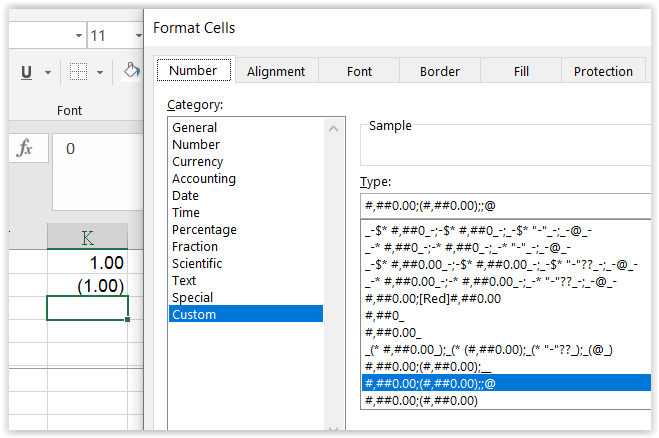
Hide zeros for individual cells
(added 01 Feb 2019)
Append ";;@" to the end:
#,##0.00;(#,##0.00);;@
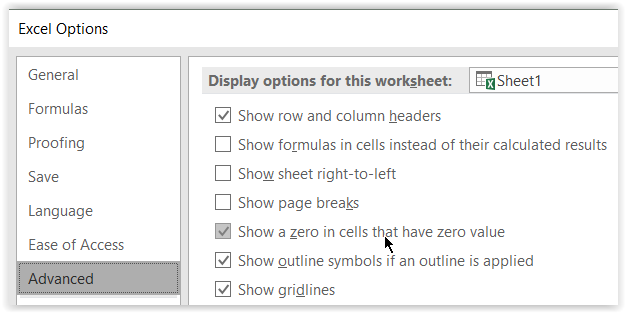
Hide zeros for the whole worksheet
(added 01 Feb 2019)
Select File > Options > Advanced.
De-select Show a zero in cells that have zero value.
All zeros will be hidden.
Round up numerical values to 2 significant digits
(added 11 Mar 2020)
Use formula in the cell to display:
"=IF(INT(Q)>0,ROUNDUP(Q,2-LEN(INT(Q))),ROUNDUP(Q,2))"
where Q = referenced cell address (or formula)
It can be read as: if integer of Q > 0, then round it to 2 significant digits, else round up Q to 2 decimal places.
If Q = 1831.03, then
- INT(Q) > 0.
- LEN(INT(Q)) = 4
- 2 - LEN(INT(Q)) = 2 - 4 = -2 (meaning, reduce length from 4 to 2 by -2)
- ROUNDUP(Q, -2) = 1900.
If Q = 0.1234, then
- ROUNDUP(Q, 2) = 0.13.
Application:
- The unit rates used in Cost Estimates are approximate rates.
- It would not make sense to show them in many digits and with decimal places to make them look like very accurate.
- 2 significant digits should be sufficient.
- Estimates should include buffers.
- Rounding up is appropriate.
Use macros
(added 17 Jan 2020)
Macros can be used to execute keyboard or mouse commands automatically. This will simplify the tasks if the same set of keyboard or mouse commands are repeated frequently.
Record macros:
- Select View > Macros > Record Macro
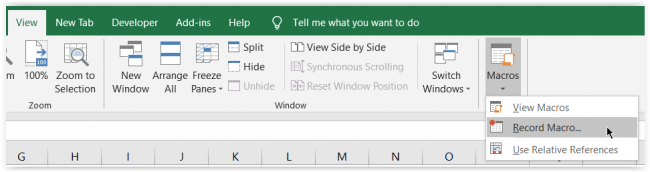
- Enter <Macro Name>
- Select OK

- Do an example of the intended task with keyboards and mouse
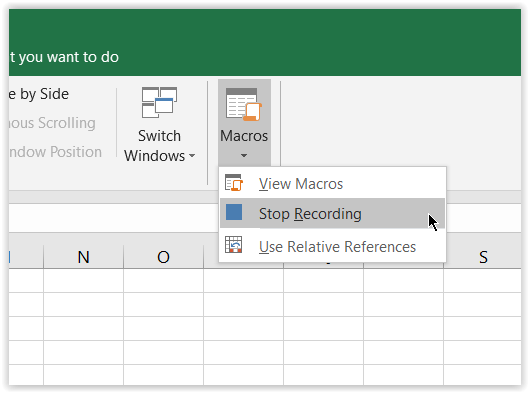
- Select View > Macros > Stop Recording
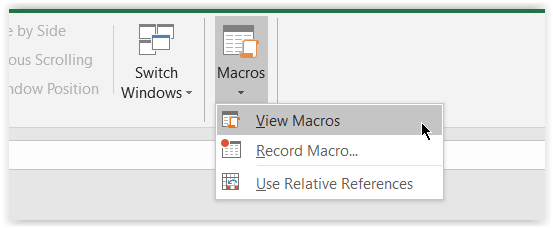
View macros:
- Select View > Macros > View Macros
- Select the desired <Macro Name>
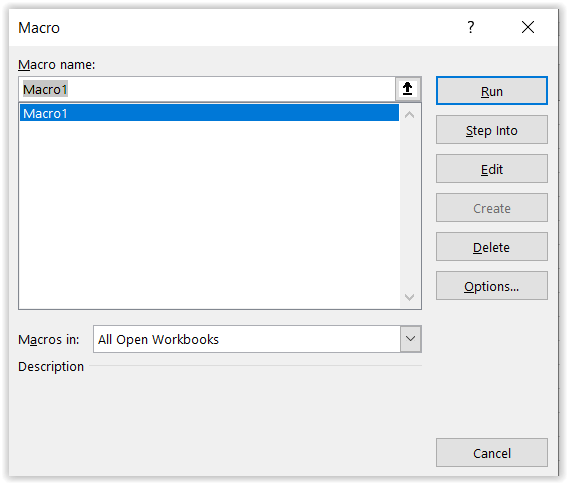
- Select Run to run the macro to execute the recorded commands
- Select Step into to run the macro step by step
- Select Edit to edit the macro
- Select Option to assign a shortkey to run the macro
Note:
- The macro will record based on the cells used when recording the macro.
- Editing is required when the same set of commands is to be run starting from a cell at a different location.
- Change the relative addresses of the cells as recorded in the macro, and test run to get the expected results.
- Once successful, the macro can be used for similar cases when the cells used are of the same relative layout.
- More complex macro would need to be written if more varying circumstances are to be handled as well.
- The recorded macro can serve as the base or give code segments for use.
Use macros on different files
To run macros on a different file:
- Save the file with macros as an macro file with ".xlsm" extension to enable it to be run, otherwise the macros must be enabled each time when they are run
- Open the macro file
- Open the target file and display the target worksheet as the active worksheet
- View macro as described above, and select and run the desired macro
Use Add-in to run macros (standard method)
The above process would need a number of steps before the macros can be run.
A simpler way is to add the macros as commands in the ribbon at the top.
Add macros to a ribbon
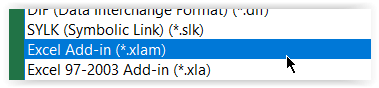
- Save the macro file with ".xlsm" extension as an Add-in file with ".xlam" extension, which will save it by default to the following folder:
C:\Users\<Admin or user name>\AppData\Roaming\Microsoft\AddIns
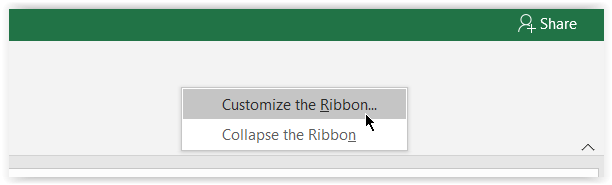
- Right-click any empty space on any of the ribbons at the top
- Select Customize the Ribbon > Add-ins
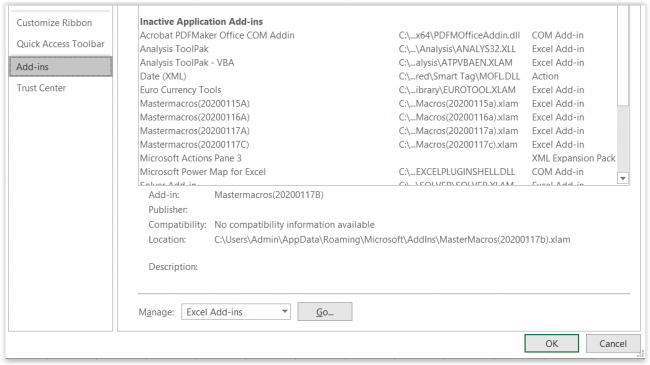
- Select Go against Manage: Excel Add-ins
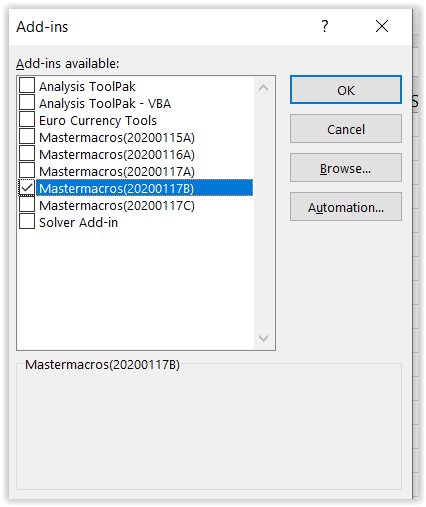
- Select the desired ".xlas" Add-in file > OK
- Right-click any empty space on any of the ribbons at the top
- Select Customize the Ribbon > Customize Ribbon
- Select Macros under Choose commands from to show the available macros
- Select New Tab to create a New Tab with a New Group (Custom)
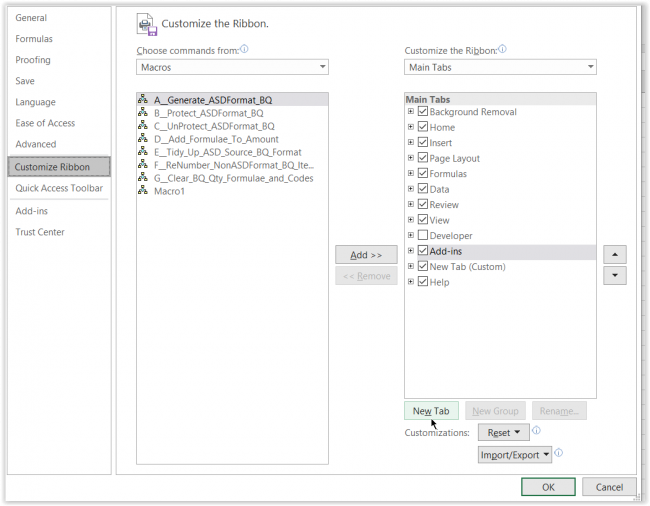

- Select the desired macro > Add to add the macro under the New Group (Custom)
- Select the existing added macro > Remove if removal is desired
- Select OK
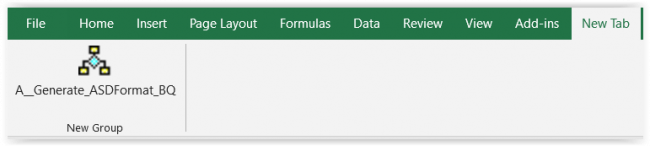
- A New Tab with menu items for the macros should be available for use
- Close Excel without the need to save
Use Add-in to run macros (quick method)
- Copy the required Add-in file with ".xlam" extension to the folder:
C:\Users\<Admin or user name\AppData\Roaming\Microsoft\AddIns
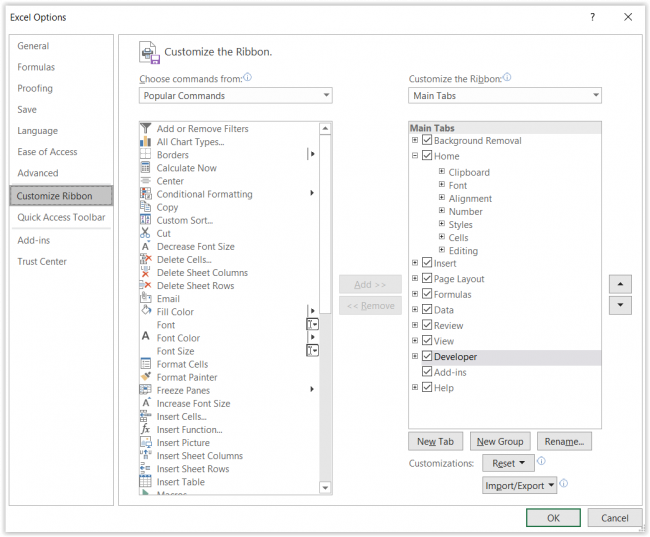
- Right-click any empty space on any of the ribbons at the top
- Select Customize the Ribbon > Developer > OK to add the Developer tab
- Select Developer > Excel-Add-ins

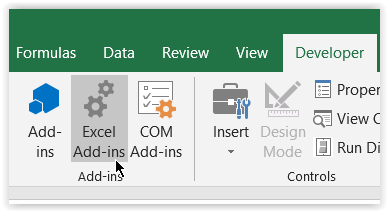
- Select the desired ".xlam" Add-in file
- De-select the superseded Add-in file in case of updating
- Select OK, which should add the Add-in tab
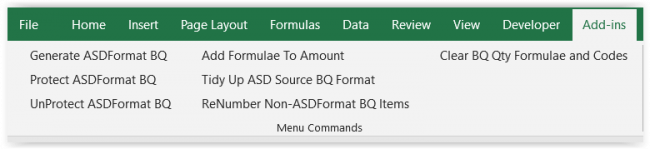
- Select Add-ins tab to access the menu items for the macros for use.
- Close and re-open Excel to see that the Add-in ribbon stays for use.
Note:
- The Add-in file with ".xlam" extension is previously created by saving the macro file with ".xlsm" extension.
- The macros in the Add-in files will not be seen in the usual View Macro menu.
- The Add-in file can be accessed by pressing Alt-F11.
- The VBA macro codes are contained under the Modules folder of the Add-in file directory structure.
- Two extra macros are contained the "ThisWorkbook" item under "Microsoft Excel Objects" item of the Add-in file directory structure.
- One of the two macros is called "Private Sub Workbook_Open()" which will remove all existing Add-in menu items and re-add new Add-in menu items when Excel is opened or when the Add-in file is added through Excel-Add-ins.
- The other of the two macros is called "Private Sub Workbook_BeforeClose()" to remove all Add-in menu items upon closing Excel.
- It has been suggested that the two macros should be named as "Private Sub Workbook_AddinInstall()" and "Private Sub Workbook AddinUnintall()" to be effected upon adding or removing the Add-in file, but the AddinInstall is not very effective because the Add-in tab will disappear after closing Excel.