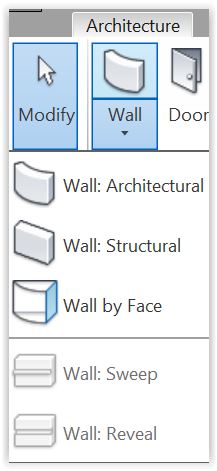
Draw walls
Draw walls KCTangSelect structural wall tool
Left-click floor plan, e.g. Level 1
Left-click: Architecture - Wall > Wall: Structural:
or
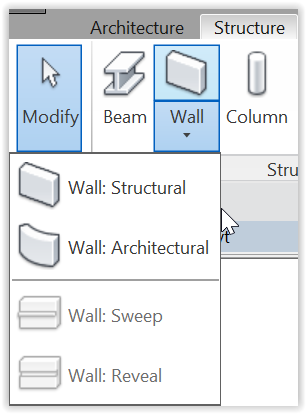
Left-click: Structure - Wall > Wall: Structural
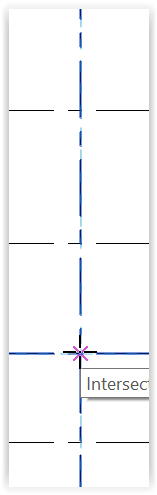
Define wall placement options
![]()
Left-click Height to draw wall from floor to ceiling:

Left-click Level 2 as the top constraint, i.e. stopping wall at Level 2 floor level:

Left-click Core Face Exterior to locate the exterior face of core of wall relative to the reference line:

Draw external walls in clockwise direction
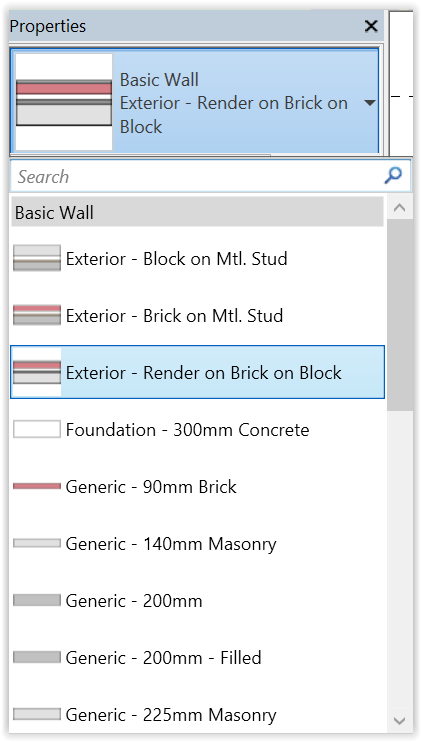
Left-click: Type Selector > Basic Wall - Exterior - Render on Brick on Block:
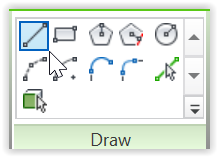
Left-click Draw - Line:
ZR > Left-click and Drag a region to zoom in to the region:
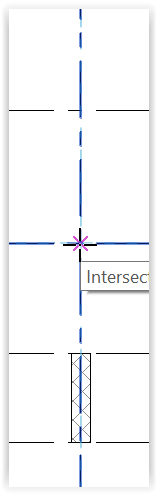
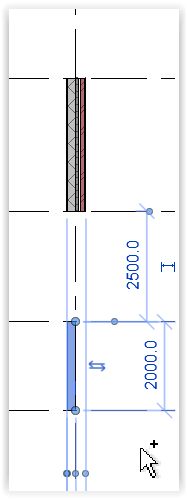
Left-click a point anywhere in the Drawing Area (e.g. on a grid intersection) > Drag downward > Left-click to end wall > Esc to finish command:
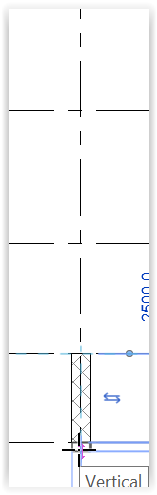
Left-click another point > Drag upward this time to draw another wall > Left-click > Esc:
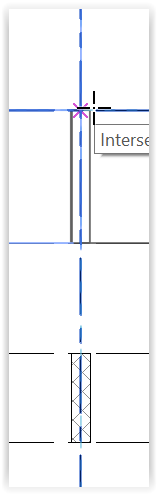
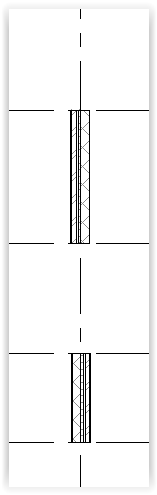
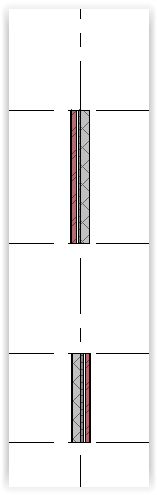
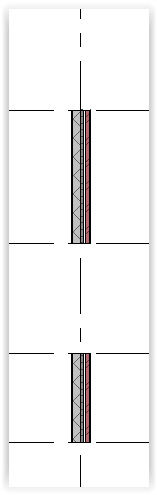
Left-click View Control Bar - Detail Level: Medium to see the component layers of the wall:

Note that the walls face different directions.
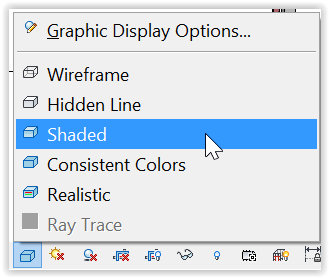
Left-click View Control Bar - Visual Style: Shaded to see the wall orientation clearer:
This demonstrates that external walls should be drawn in clockwise direction to make them face outward.
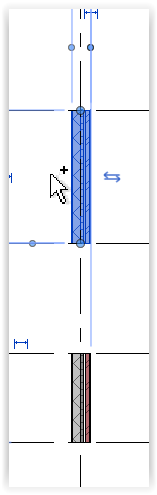
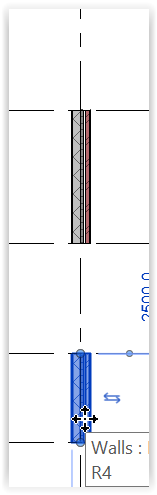
Flip wall orientation
Left-click: wall to be flipped > double arrow to flip the wall > Esc:

Change wall type
Left-click wall to be changed:
Left-click: Type Selector > Basic Wall - Generic - 200mm:
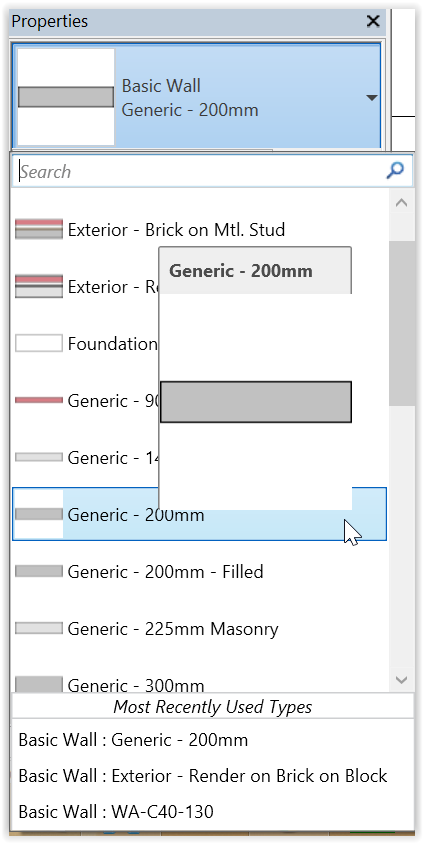
Esc to finish:

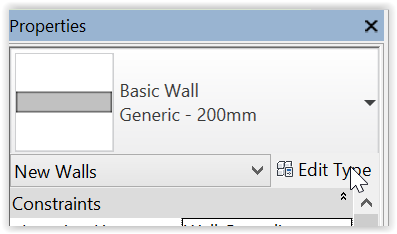
Create wall
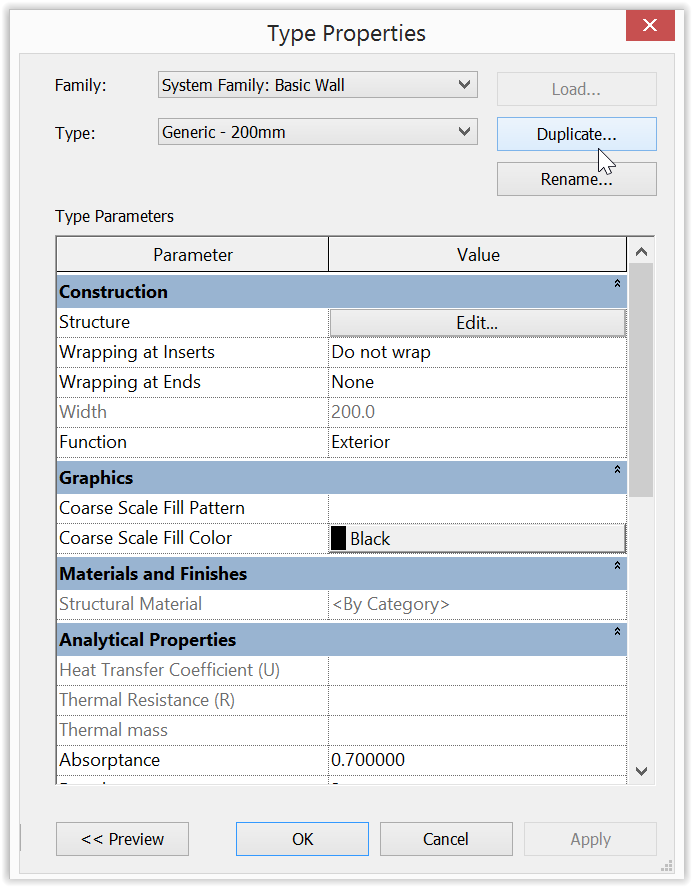
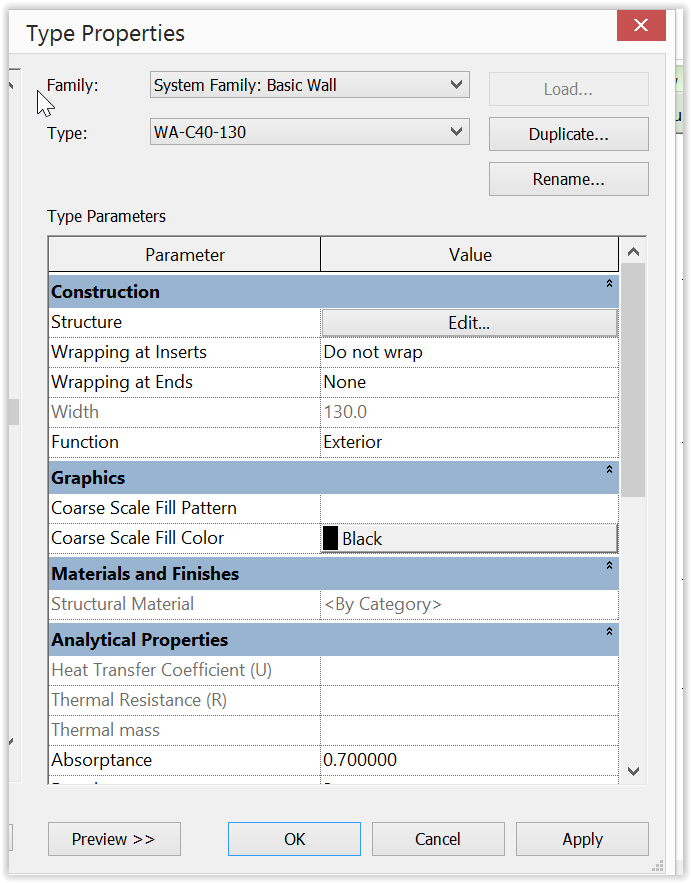
Left-click: Type Selector > Basic Wall - Generic - 200mm > Edit Type:
Left-click Duplicate:
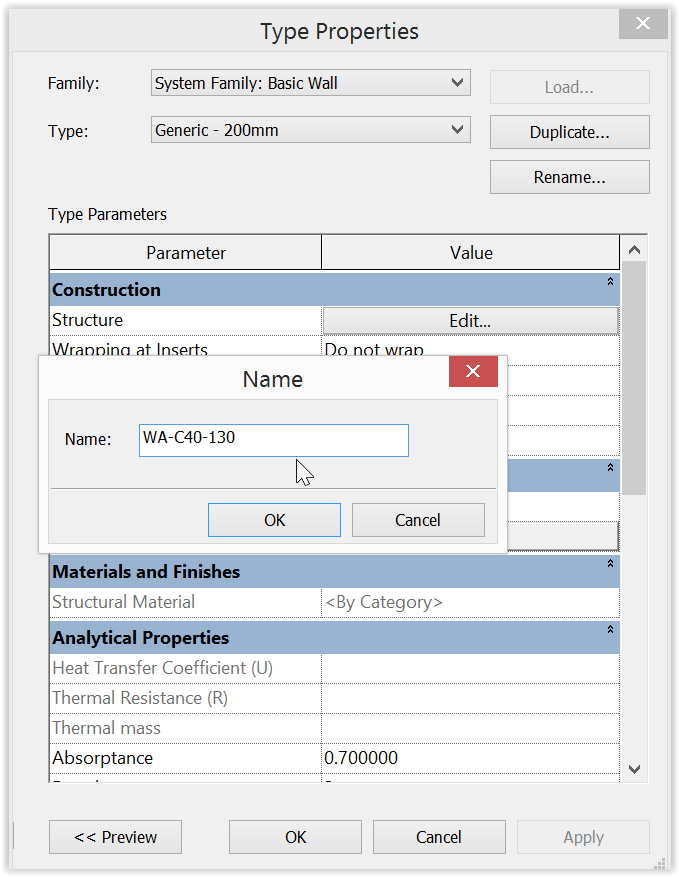
Edit Name:

Change to "WA-C40-130" > OK:
where
- WA = Structural wall
- C40 = Reinforcement concrete C40
- 130 = 130 mm thick
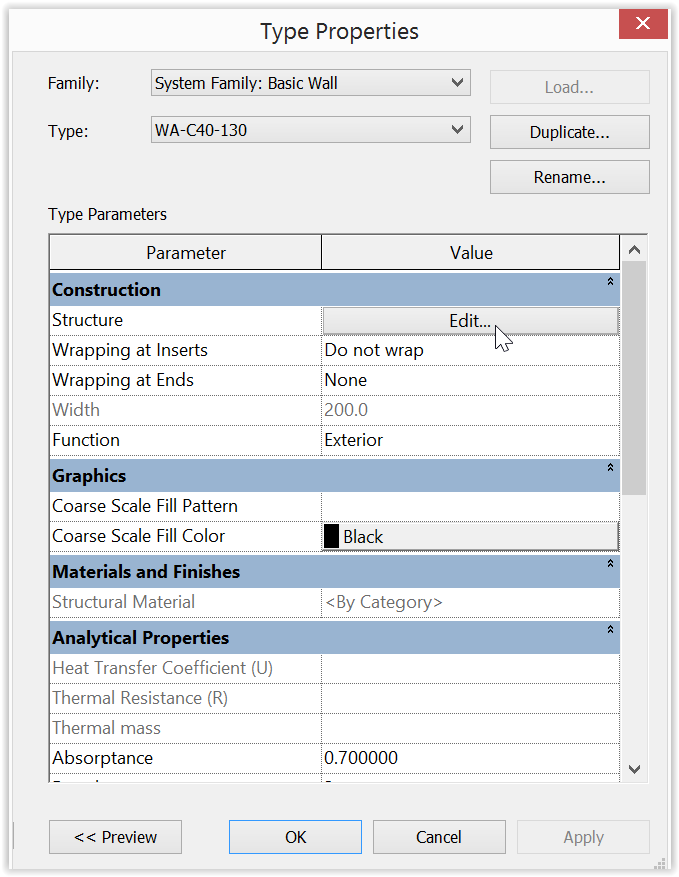
Left-click Structure Parameter - Edit:
Edit Thickness:
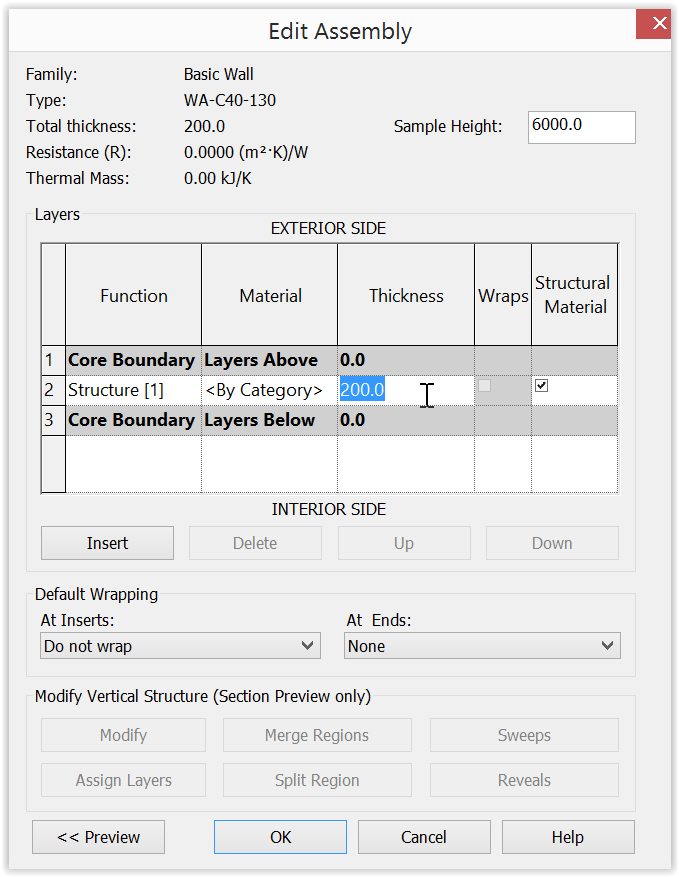
Change thickness to "130.0" > OK:
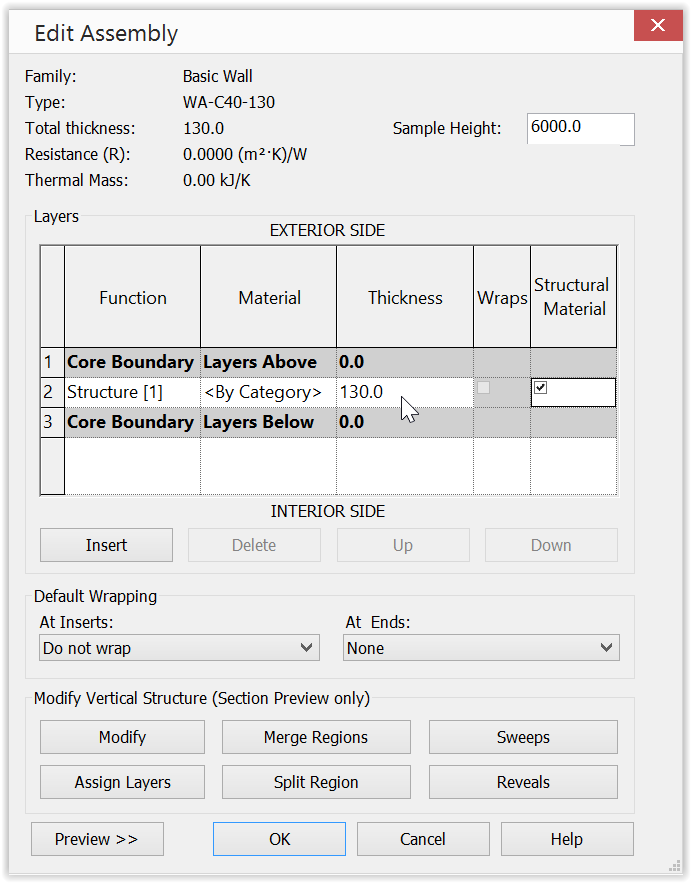
OK:
The wall type will be changed:
